
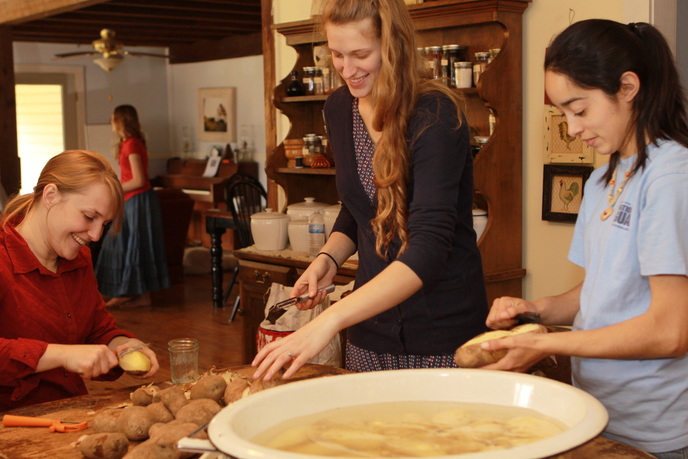
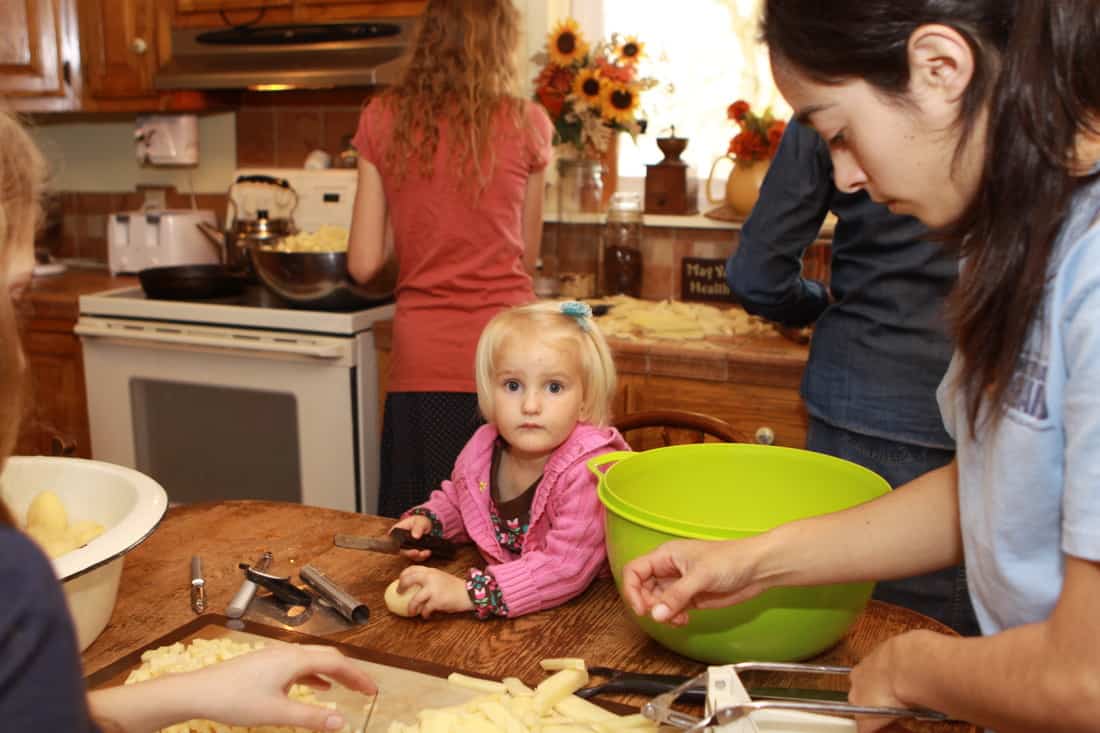
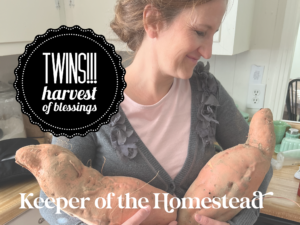
We had our first Keeper of the Homestead Meeting at my home! For our first project we canned potatoes. This was a first for all the young ladies I affectionately call my “Canning Sisters”. Above is Gracie Brand, she was helping Molly and Megan gather my potatoes from the basement. As you can see, they are sprouting! It is time to either plant these taters or can them up!!! My mother bought these potatoes for our family back in the fall for $12 a 50 lb bag in Wisconsin. I had her buy me a bunch of things at the vegetable stand since I could not have a garden last summer.
When there is a will, there is a way…
I was still able to feed my family all winter long on a very small budget. Listen, ladies, it is really easy to stock up on things even if you are a city dweller. Think of it this way, you could be spending about $1 per pound if you buy these items at the local grocery store which would be nearly $250.00!!!! When you buy in bulk you save a ton!!!

Canning Project #1: Canning Potatoes
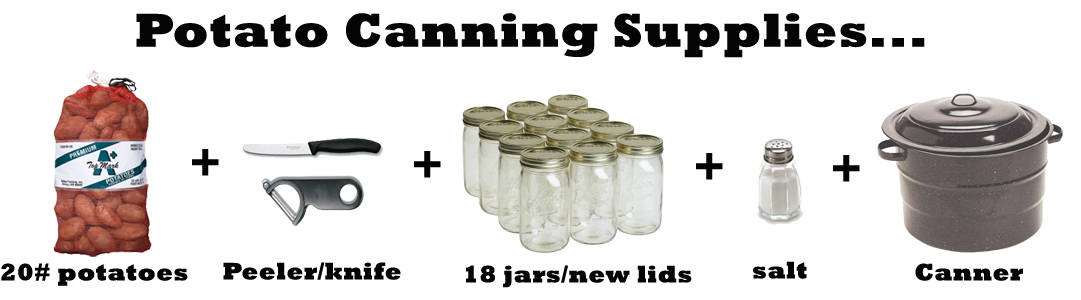
Each of the young ladies bought 20 lbs of potatoes. Altogether we had 155 pounds to can!!!
Sound like a huge project. For one person it is. For our group, EASY!
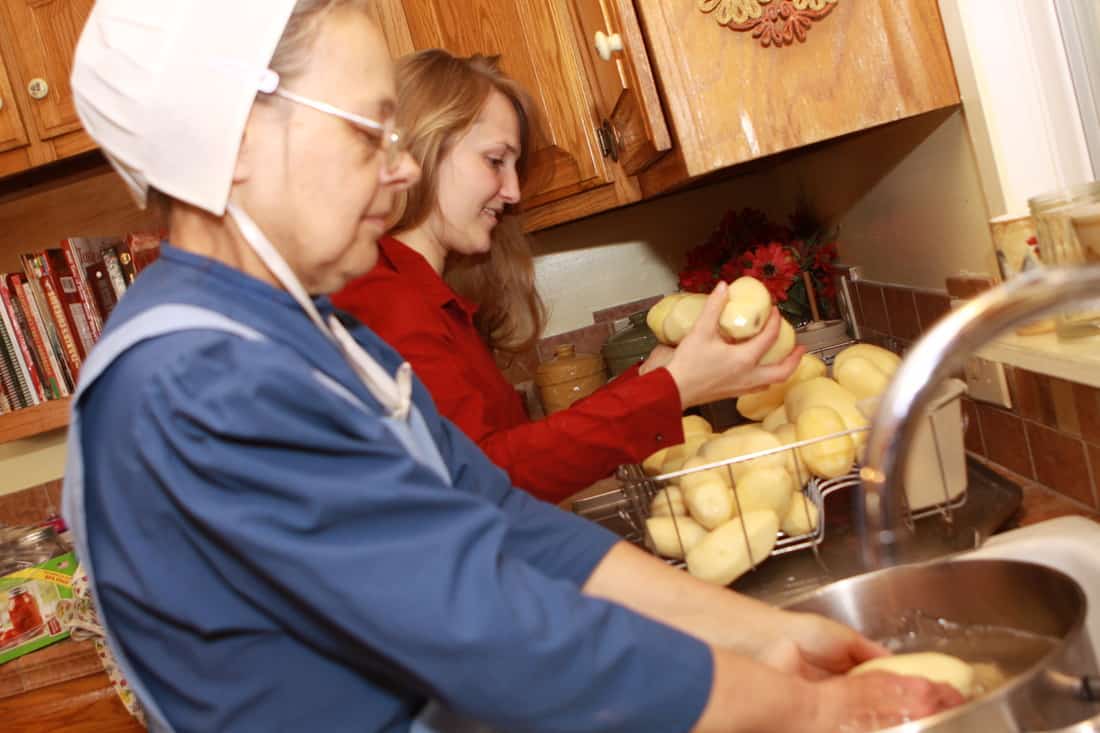
Step 1: Peel the Potatoes
Everyone peeled for about one hour. All the peeling went into a five gallon bucket to use for compost or chicken scraps. If we had a pig, that would be perfect for pig feed! Nothing goes to waste.
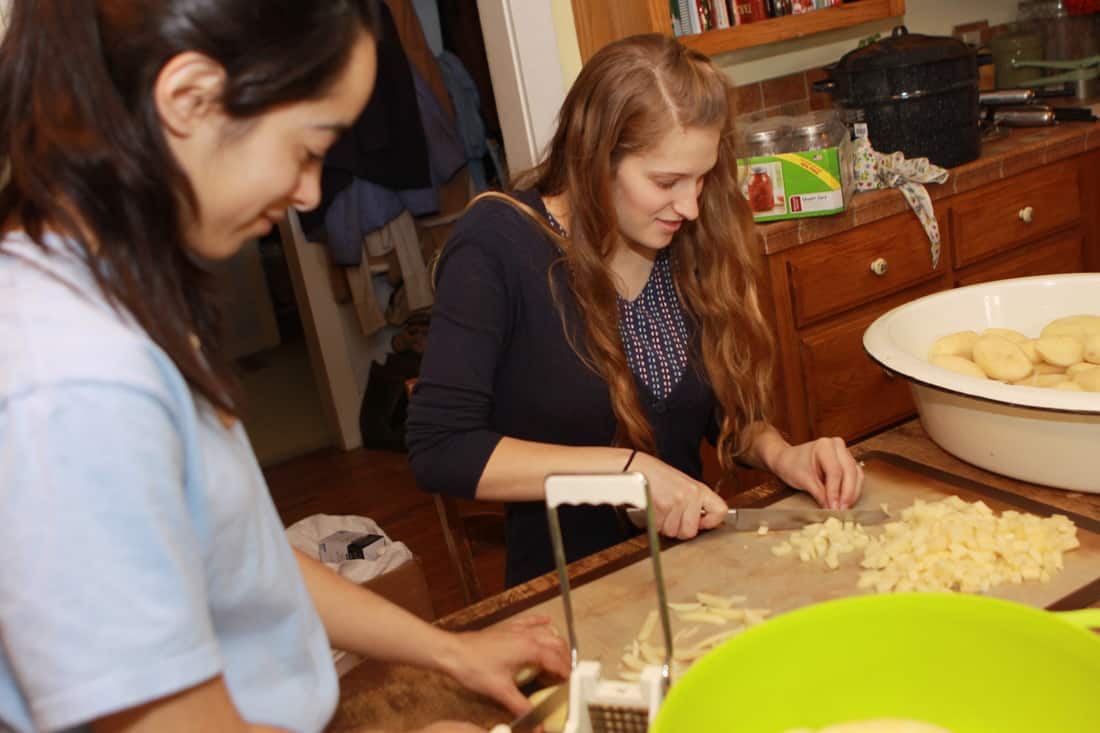
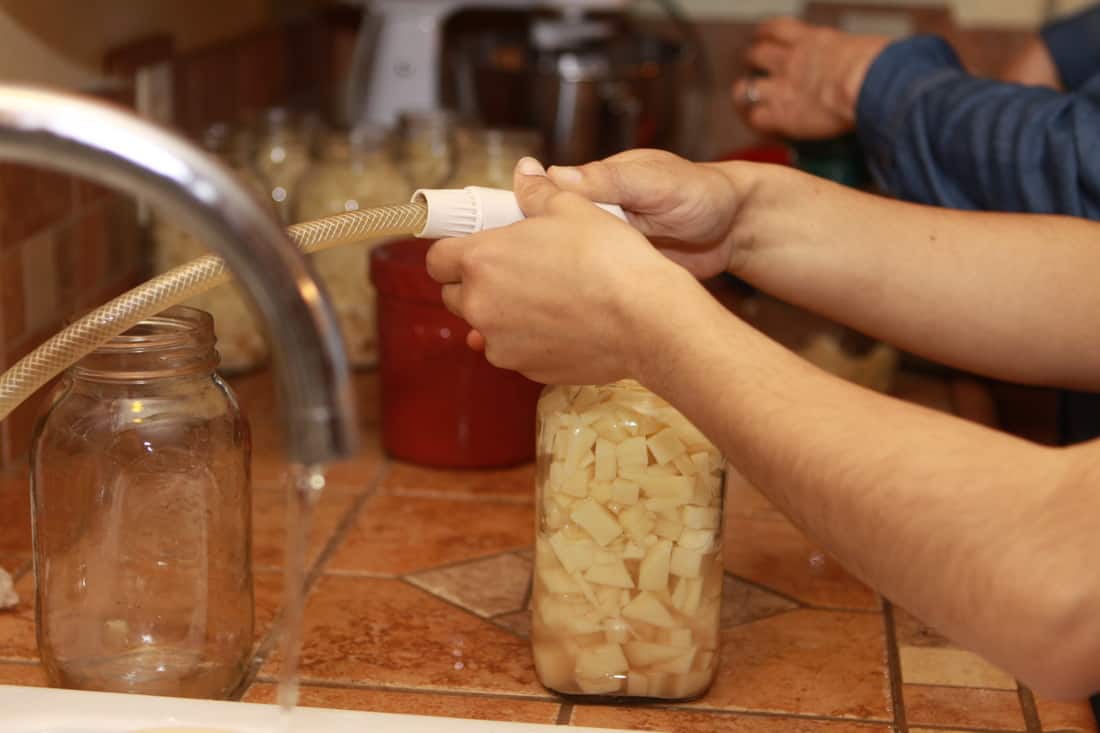
Step 3: Dice the PotatoesWe have a french fry cutter, so this makes our job even slicker! We learned that if you cut the potato in half first and lay the cut side down, the machine cuts like butter. After it is french fry cut, we just cut the long pieces into cubes. Make sure to keep your cubed potatoes in a bowl of water or they will get brown.

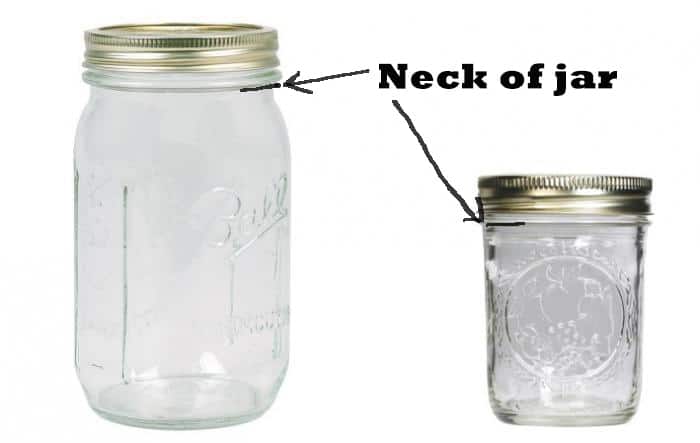
Step 5: Fill Water to the Neck of the JarWe found it fun to use my kitchen water hose.
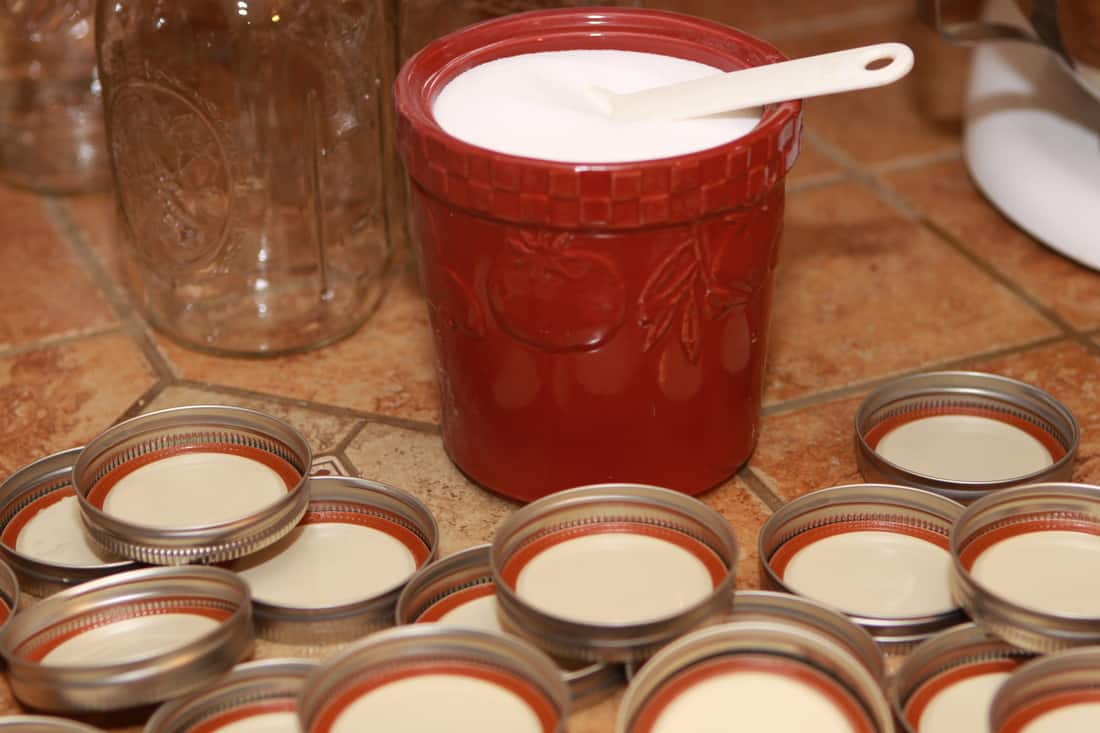
Step 10: Cool and Store
After the jars are cooled, remove them from the canner and make sure all the seals are sucked in. You may hear the lids “Popping” while they are cooling which is always a fun sound to hear. If you have one that does not seal, you can either use it right away, store it in the refrigerator for up to one week, or figure out why it did not seal. Make sure the rim of the jar is free from nicks, debris, or chips out of the glass. It will not seal if there is obstruction between the glass and the rubber. You can always fill the contents into another clean, obstruction-free jar and place a new lid on to can it again. Repeat the steps 4-10.
Guess how many jars we canned that lovely day???? 85 quarts!!!
Each of the girls got to take home about 17 or 18 quarts of canned potatoes. They were so thankful and can’t wait to come over next Thursday for another Keeper of the Homestead Meeting of productive fellowship!
Here are some ideas for using canned potatoes:
- Drain and dry them to fry for breakfast hash browns
- Dump into your soup recipe
- Drain and add to beef stew
- Boil, drain, and mash for a side of mashed potatoes
- Drain and add cream cheese, sour cream, onion, and shredded cheese-bake this cheesy potato dish!
Now it is your turn. Gather together into your own Keeper of the Homestead meeting and can up some potatoes. You will find out how much fun you will have and how useful canned potatoes are!
I have demonstration on potato canning on our Homesteading for Beginners DVD Vol. 3


52 thoughts on “10 Easy Steps to Canning Potatoes”
Hi Erin! We are so grateful for the videos you and your family have made. We watch them over and over! Can you please tell me what salt you use in your canning? Thank you so much!
Oh that seems like such a fun day! I wish there was a group of ladies out here I could do that with! What a great time of fellowship!
Oh Erin, How I sooo wish I was your neighbor! I have longed to do all that you and your family are doing! I even asked hubby if we could move to Tennessee! I have longed to be a part of a community/family just like yours! I’ll have to tell my husband about canning potatoes. I want to start canning, but he has to do it since i’m handicapped.
I would encourage you to look into pressure canning potatoes, since they are low acid foods. I cannot find any site that recommends water batch canning for potatoes. It is not worth the risk to not use the recommended canning practices.
http://pubs.ext.vt.edu/content/dam/pubs_ext_vt_edu/348/348-594/FST-304.pdf
Thank you so much for pointing this fact out. I have edited my post to include the recommended methods of pressure canning low acid foods. I just never knew because I learned from older ladies and the Amish that did not use this method for potatoes. I am always eager to learn new and better ways:)
Why would you can potatoes? If you store them in a cool, dry, verminless place, they last forever. I don’t can potatos. I have a bunch in my cellar that never go bad.
I know, you are right. I do always store them in the root cellar, but when they start getting soft, I try to can them up so that we can use them before they go to seed. Actually, I keep some of the seeds for planting in the garden.
Hi and thank you for this. I never thought of canning potatoes! I do have a question…can you can them with the skin on? Since most of the nutrition is in or just under the skin, peeling eliminates most of their goodness.
You could leave the skin on, I am sure it would be just fine.
I am wondering how you canned all of these. Did you have a camber on each burner? For 2 hours each it could get time consuming . I’m curious how long it took start to finish. I have you kids so I would have to commit to setting time aside.Also I’m confused…it is better to can in water bath or pressure with potatoes? Does one last longer? Thanks
It does take several hours of prep time. Maybe 2 hours cutting and peeling and filling jars. Pressure canning is best. I have always water bath canned them, but from now on, I will only recommend pressure canning them.
You make this look so very easy. I learn best by watching someone else. Thank you. 🙂
Love,
Janet
I pressured my potatoes the one time I canned them. We washed up all the tiny ones when we dug them one year, in an old washing machine, and then canned them. Worked great–and made quick meals! The washer quit working then, though, so we don’t have an easy way to wash them now. This past year we had too many potatoes to get through them, so we cleaned them a little with a toilet plunger in a large tub of water, then cooked them for chicken feed.
Wait – Aren’t potatoes low acid?!? How can they be water bath canned? Don’t you worry about botulism?
I have changed the post to recommend pressure canning instead. I hope this helps everyone.
I usually cook, shred, and freeze my leftover potatoes from the basement this time of year, but this year . . . no freezer room! The kids and I may tackle some canning. QUESTION: how about butternut squash and onions that won’t keep much longer? Any suggestions?
Pressure can them using Ball Blue Book of Canning. They will give the best instructions for pressure canning low acid foods.
What a wonderful way to fellowship! I’ve done it before but my homestead friend lives almost 2 hours away:( it’s also great for the kids! So nice to see them working along side you! God bless you!
Thank you so much for this your easy to follow directions and pictures makes it so easy for us city dwellers to glean from, Im so excited to can these, are carrots the same way?
Yes, it is the same with carrots. I usually do some of my jars with carrots and potatoes. Fun:)
Can your pressure potatoes instead of water bathing? Thanks again!!
Yes, you can pressure can potatoes. Processing times would differ. You would have 45 minutes instead of 1.5 hours. It would save time for you, so try it. I never pressure canned my potatoes, but it is the recommended way from any canning manual. For the past 12 years I have done it this way and it has always been flawless! I have yet to open a bad jar. Very encouraging for me:)
Where do you store your potatoes all winter? Thanks!
I store my roots like carrots and potatoes in our root cellar (it resides in a back room of our basement) Better to choose a dark, cooler room for this purpose. They will keep best if there is good air flow between the potatoes. Some people like to store them in sand, if you can believe that. It is unhandy to dig for potatoes, but they seem to keep better in sand. Hope this helps:)
What a wonderful way to teach Titus 2:3-5…I love it!! I am so glad to have found your blog! Blessings…Robin
Yes, it is really a gift to be able to do this. There is no better fun than fun doing something that helps others. Thank you for your kind words, bless you!
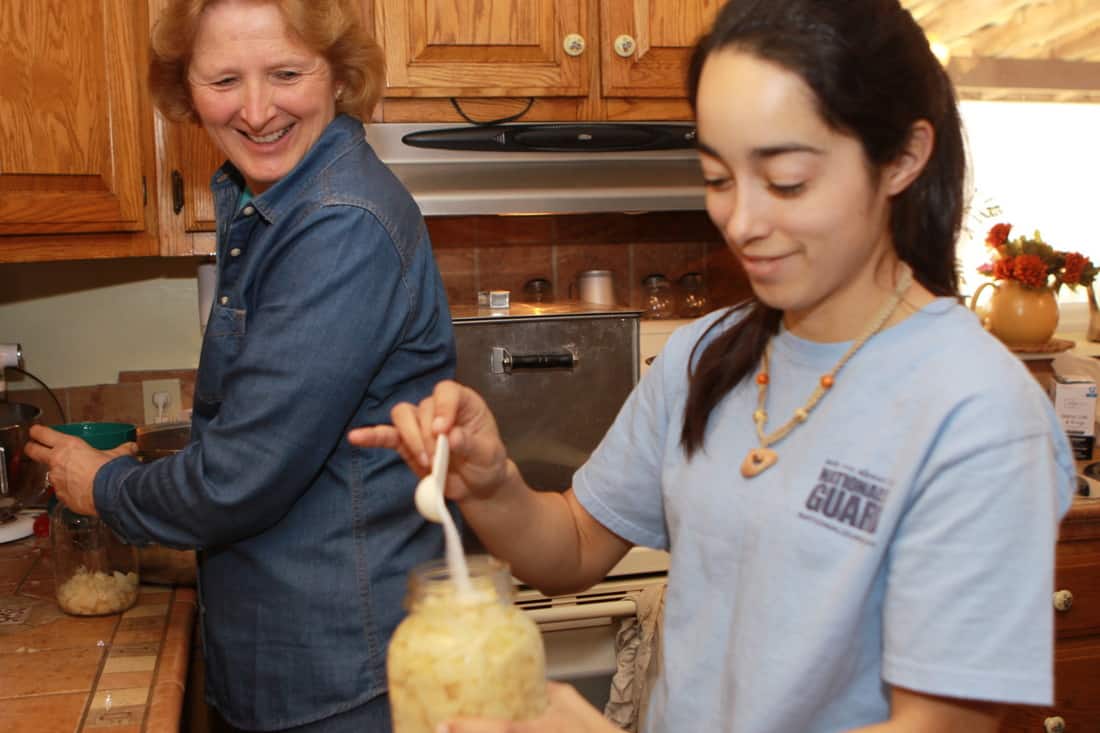
Erin, It’s inspiring to see what wonderful, productive fellowship can be had. I’ve been feeling called to start up my Healthy Living Support Group again. We did similar projects like this. I called them Make and Take meetings. We made cultured veggies and “Healthy” homemade mayonnaise and salad dressings at past gatherings. So uplifting. Thank you for your surrender to God’s call. You are truly a handmaid of the Lord! Many shall call you Blessed, my dear friend.
Wow, that was really encouraging! thanks for your words, they sure do mean a lot. I hope you can get your group together, it is such a blessing for other ladies to fellowship in this manner. Very productive and fun at the same time. Make and Take is a great way to say it:) I am so very thankful that I had you in my life when I was a young mother. It was such a gift from God. That inspired me to reach out, just as you did with me. The gift keeps giving!